
Ruby on Railsにおいて、MySQLと接続する手順を解説します。
RubyおよびRuby on Railsはインストールされている前提とします。
Rubyは「C:\tools\ruby\Ruby31-x64」にインストールされている前提とします(ご自身の環境に応じて、読み替えて下さい)。
MySQLのインストール
公式サイトより、MySQLをダウンロードします。
最新バージョンのものでOKです。
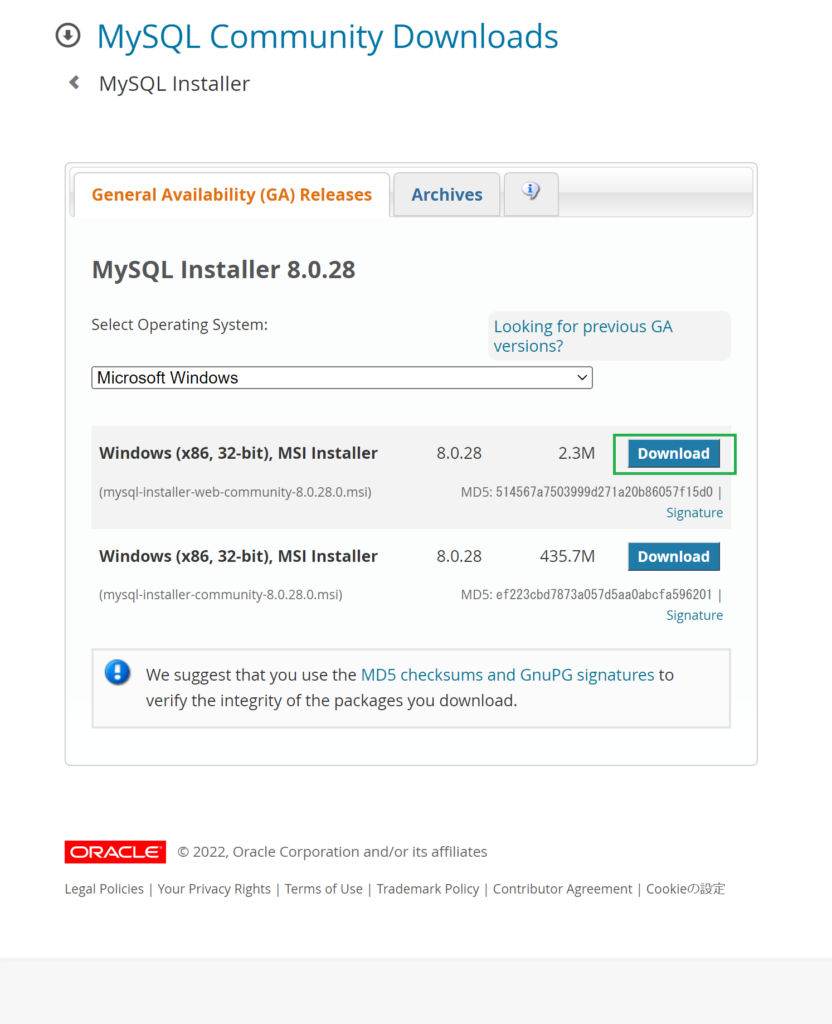
ダウンロードした「mysql-installer-web-community-*.msi」をダブルクリックし、インストールします。すべてデフォルトの指定でOKです(パスワードは任意に設定して下さい)。
MySQL Connector(C/C++)の取得
MySQLへ接続するためのコネクタをこちらからダウンロードします。
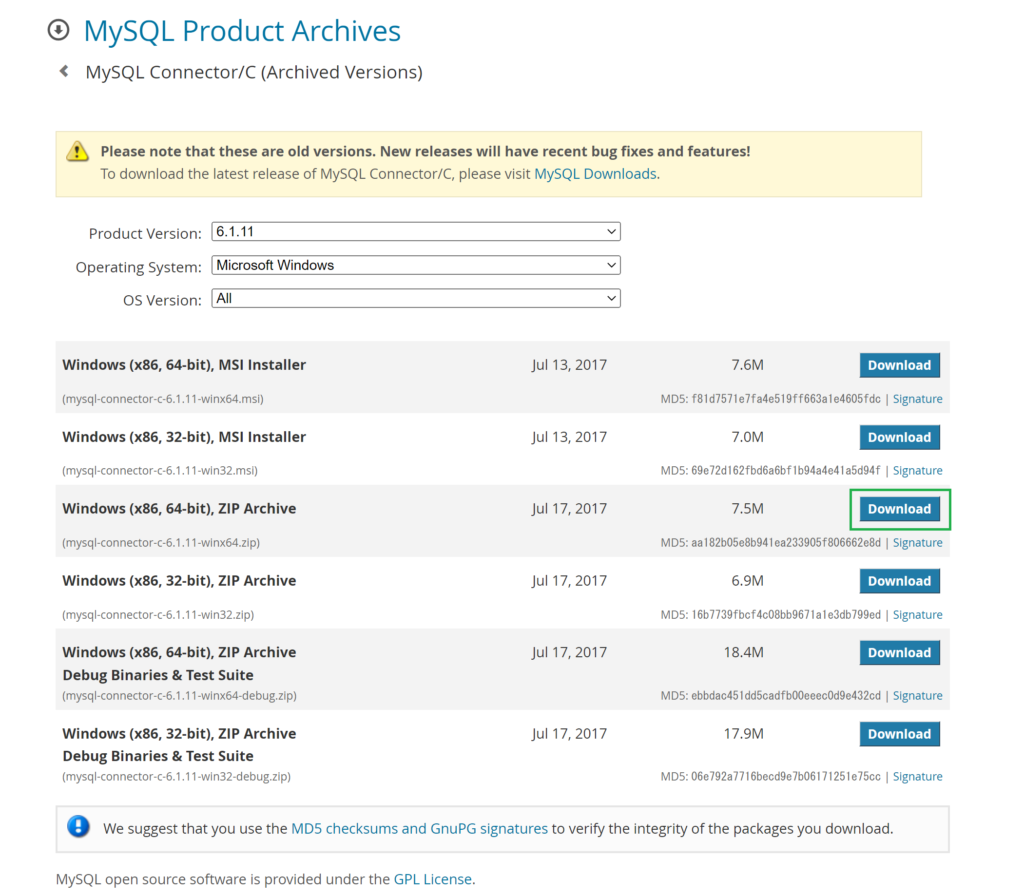
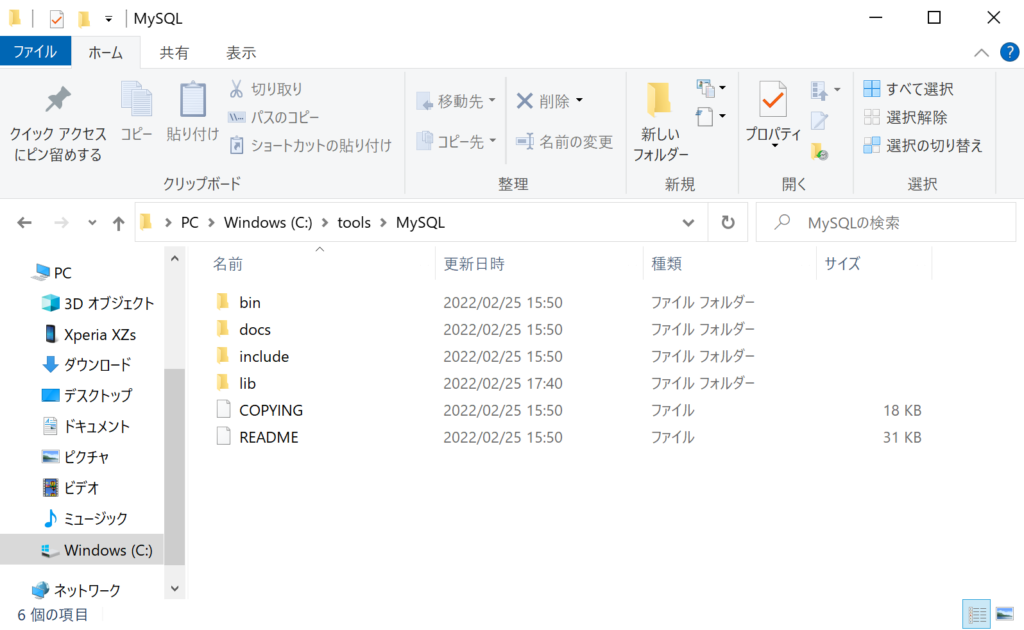
ここでは「C:\tools\MySQL」というフォルダをつくり、ZIPファイルの中身をその中にコピペします。
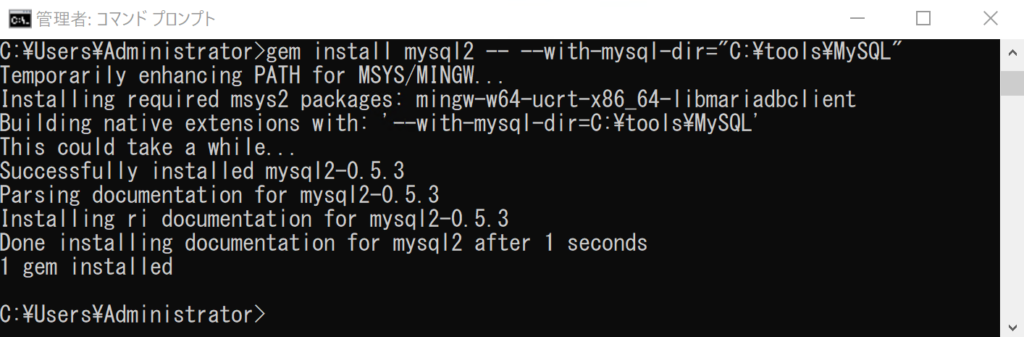
mysql2の生成
RubyのMySQLへの接続クライアントであるmysql2を生成します。
先ほどダウンロードしたMySQL Connectorを使ってビルドすることで生成します。
コマンドプロンプトで以下のコマンドを実行します。
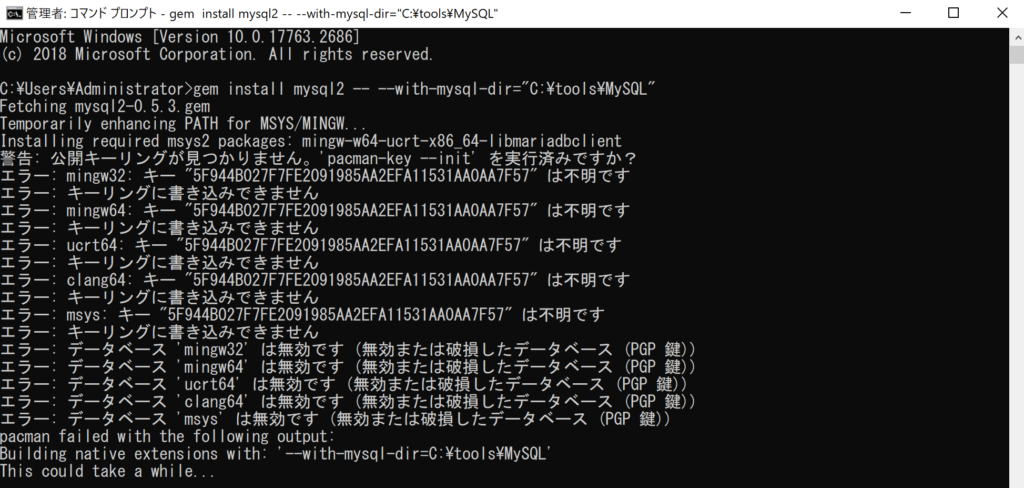
gem install mysql2 -- --with-mysql-dir=”C:\tools\MySQL”
以下のように「警告: 公開キーリングが見つかりません。’pacman-key –init’ を実行済みですか?エラー: …」というエラーが発生することがあります。
その場合、コマンドプロンプトで以下のコマンドを実行して下さい。
ridk install 1 2 3
ridk exec pacman -S mingw-w64-x86_64-dlfcn --noconfirm
その上で、再度「gem install mysql2 — –with-mysql-dir=”C:\tools\MySQL”」を実行して下さい。
ライブラリ(dll)の差し替え
「C:\tools\ruby\Ruby31-x64\msys64\ucrt64\bin\libmariadb.dll」を、「C:\tools\MySQL\lib\libmysql.dll」と差し替えます(libmysql.dllはlibmariadb.dllにリネームして下さい)。
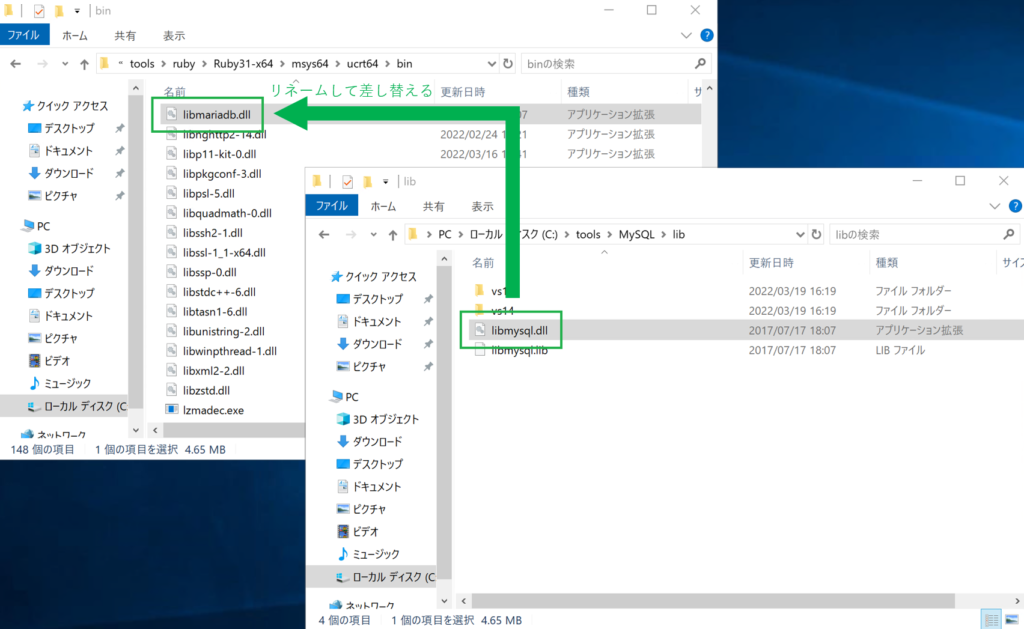
Rubyはデフォルトでインストールされている「C:\tools\ruby\Ruby31-x64\msys64\ucrt64\bin\libmariadb.dll」を常に見ようとするため、参照させたい「C:\tools\MySQL\lib\libmysql.dll」で差し替えた、ということです。
Ruby on Railsのセットアップ
ここでは、「C:\tools\ruby\projects」以下にプロジェクトを作成します。
コマンドプロンプトで以下のコマンドを実行します。
cd C:\tools\ruby\projects
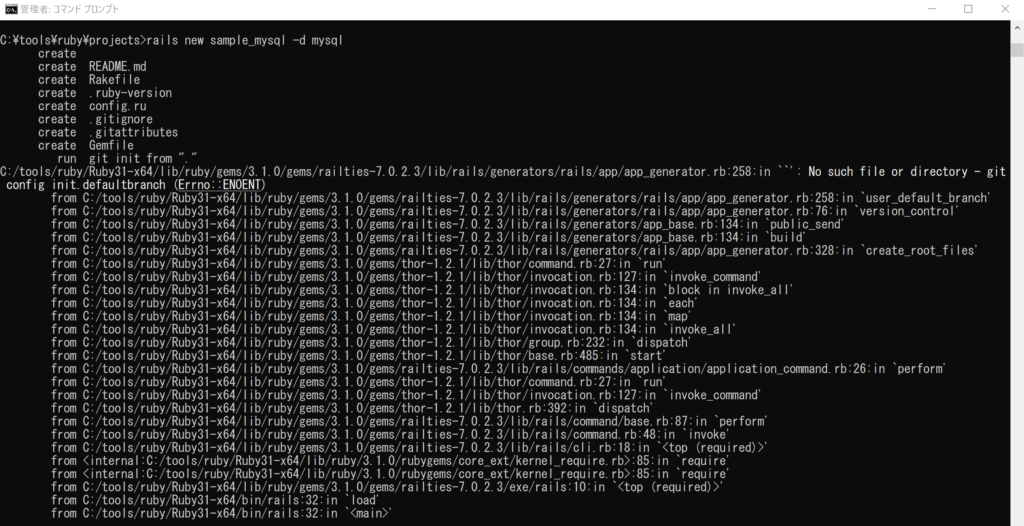
rails new sample_mysql -d mysql
以下のように「git init from “.”」でエラーが発生する場合、Gitがインストールされていません。こちらからGitをダウンロードし、インストールして下さい。
bundle installにて、以下のように「tzinfo-data」関連のエラーが出ます。
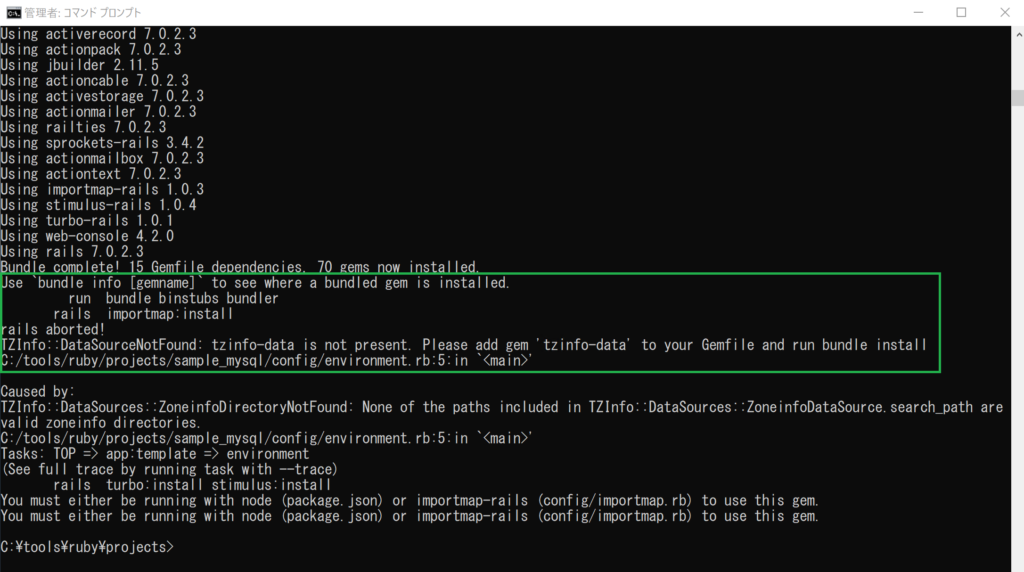
「C:\tools\ruby\projects\sample_mysql\Gemfile」をテキストファイルで開き、以下のように「gem ‘tzinfo-data’」を追記し、さらに「gem ‘tzinfo-data’, platforms: [:mingw, :mswin, :x64_mingw]」のように修正します(40行目あたりです)。
source "https://rubygems.org"
git_source(:github) { |repo| "https://github.com/#{repo}.git" }

ruby "3.1.1"

# Bundle edge Rails instead: gem "rails", github: "rails/rails", branch: "main"
gem "rails", "~> 7.0.2", ">= 7.0.2.2"

# The original asset pipeline for Rails [https://github.com/rails/sprockets-rails]
gem "sprockets-rails"

# Use mysql as the database for Active Record
gem "mysql2", "~> 0.5"

# Use the Puma web server [https://github.com/puma/puma]
gem "puma", "~> 5.0"

# Use JavaScript with ESM import maps [https://github.com/rails/importmap-rails]
gem "importmap-rails"

# Hotwire's SPA-like page accelerator [https://turbo.hotwired.dev]
gem "turbo-rails"

# Hotwire's modest JavaScript framework [https://stimulus.hotwired.dev]
gem "stimulus-rails"

# Build JSON APIs with ease [https://github.com/rails/jbuilder]
gem "jbuilder"

# Use Redis adapter to run Action Cable in production
# gem "redis", "~> 4.0"

# Use Kredis to get higher-level data types in Redis [https://github.com/rails/kredis]
# gem "kredis"

# Use Active Model has_secure_password [https://guides.rubyonrails.org/active_model_basics.html#securepassword]
# gem "bcrypt", "~> 3.1.7"

# Windows does not include zoneinfo files, so bundle the tzinfo-data gem
gem 'tzinfo-data'
gem 'tzinfo-data', platforms: [:mingw, :mswin, :x64_mingw]

# Reduces boot times through caching; required in config/boot.rb
gem "bootsnap", require: false

# Use Sass to process CSS
# gem "sassc-rails"

# Use Active Storage variants [https://guides.rubyonrails.org/active_storage_overview.html#transforming-images]
# gem "image_processing", "~> 1.2"

group :development, :test do
  # See https://guides.rubyonrails.org/debugging_rails_applications.html#debugging-with-the-debug-gem
  gem "debug", platforms: %i[ mri mingw x64_mingw ]
end

group :development do
  # Use console on exceptions pages [https://github.com/rails/web-console]
  gem "web-console"

  # Add speed badges [https://github.com/MiniProfiler/rack-mini-profiler]
  # gem "rack-mini-profiler"

  # Speed up commands on slow machines / big apps [https://github.com/rails/spring]
  # gem "spring"
end

group :test do
  # Use system testing [https://guides.rubyonrails.org/testing.html#system-testing]
  gem "capybara"
  gem "selenium-webdriver"
  gem "webdrivers"
end
再度、bundle installを実行します。
cd sample_mysql
bundle install
これでエラーが出なければ、環境構築は完了です。